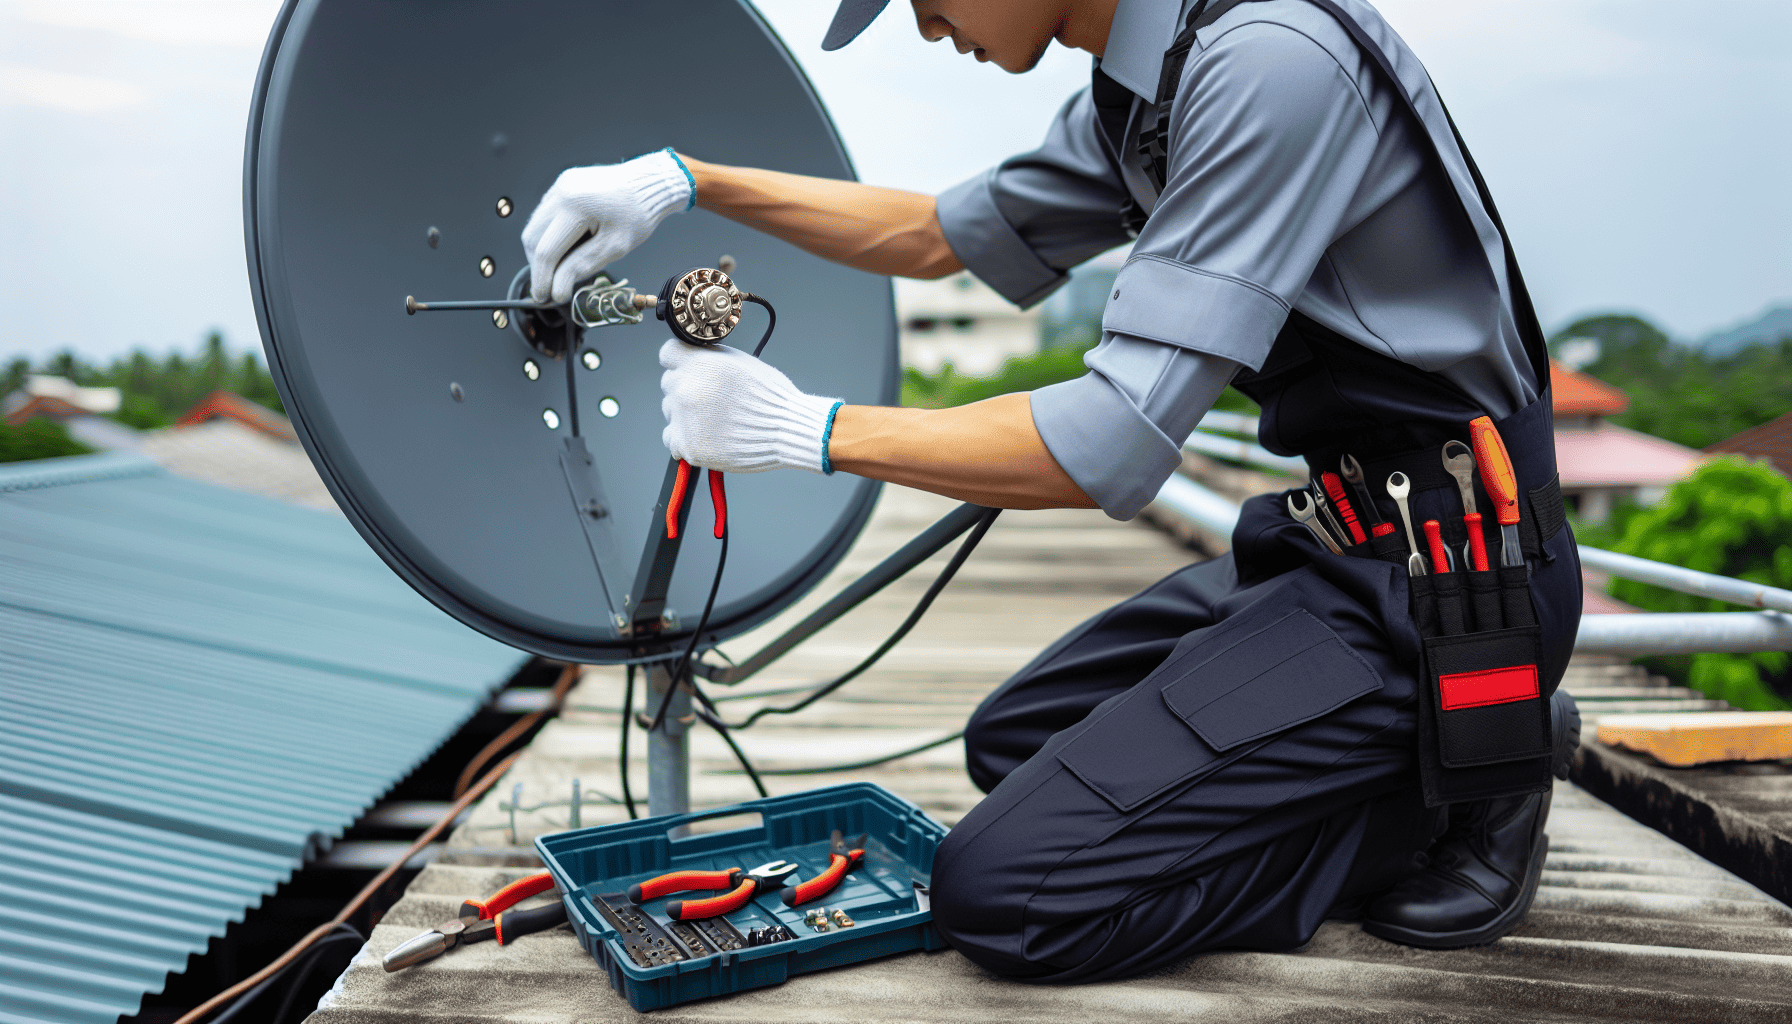
Setting up a new satellite TV system can seem daunting, but with the right approach and a few insider tips, you can enjoy your Celestial Screen Solutions service without a hitch. Here’s a step-by-step guide to ensure a smooth installation experience.
Choose the Right Location
The first step in installing your satellite TV is selecting an appropriate location for your dish. Ideally, this spot should have a clear view of the southern sky, free from obstructions like trees, buildings, or other structures. This will ensure the strongest possible signal. It’s also a good idea to mount the dish on a sturdy structure, usually on your roof or an exterior wall. Remember, safety first—use a stable ladder and, if necessary, seek professional help for mounting the dish in difficult-to-reach places.
Gather Your Tools and Equipment
Before starting the installation, ensure you have all necessary tools and equipment handy. You’ll need a socket wrench, a compass, an adjustable spanner, a drill with masonry and wood bits, and screws appropriate for the mounting surface. Most satellite TV kits, including those from Celestial Screen Solutions, come with all the required components. Double-check that you have the dish, mounting brackets, receiver box, and connecting cables before proceeding.
Aligning the Satellite Dish
Proper alignment is crucial for receiving a strong signal. Use a compass to determine the correct azimuth angle (the compass direction toward the satellite). Once positioned correctly, adjust the elevation angle based on your geographical location. Most dishes have an elevation scale on the mounting bracket to assist with this adjustment.
You can fine-tune the alignment by connecting the receiver box to your TV and monitoring the signal strength on the screen. Slowly adjust the dish until the signal reaches its peak strength, securing it in place with the wrench and spanner.
Securely Connect the Cables
With the dish properly aligned, the next step is to connect the cabling. Run the coaxial cable from the dish to your receiver box, ensuring the cable is not bent sharply or pinched, which can degrade signal quality. If possible, use cable clips to secure the cable along walls or baseboards and protect it from weather exposure by using silicone sealant around any wall penetrations.
Set Up the Receiver
Now it's time to set up the receiver. Connect the receiver to your TV using HDMI cables for optimal picture quality. Follow the setup instructions on your screen, which will guide you through selecting preferred language, network configuration, and scanning for channels. Celestial Screen Solutions might require activation of their services, so keep any account information handy.
Troubleshooting Common Issues
If you encounter issues like weak signal or pixelated picture, double-check the dish alignment and ensure all connections are secure. Use the signal strength meter on your receiver as a guide. Sometimes resetting the receiver or restarting the TV can resolve minor glitches.
Additional Tips
-
Weather Consideration: Keep in mind weather elements. Heavy rain or snowfall can temporarily affect signal strength. Regularly check and clear the dish of any snow or debris.
-
Maintain Equipment: Routine maintenance, such as checking cable integrity and tightening bolts, can prevent future issues.
-
Customer Support: Don’t hesitate to contact Celestial Screen Solutions' customer support for any persistent problems that aren’t resolved through troubleshooting—they’re there to help.
With these tips and tricks, you’re set to enjoy the endless entertainment options your satellite TV service provides. Embrace the technology and dive into the best that Celestial Screen Solutions has to offer!
